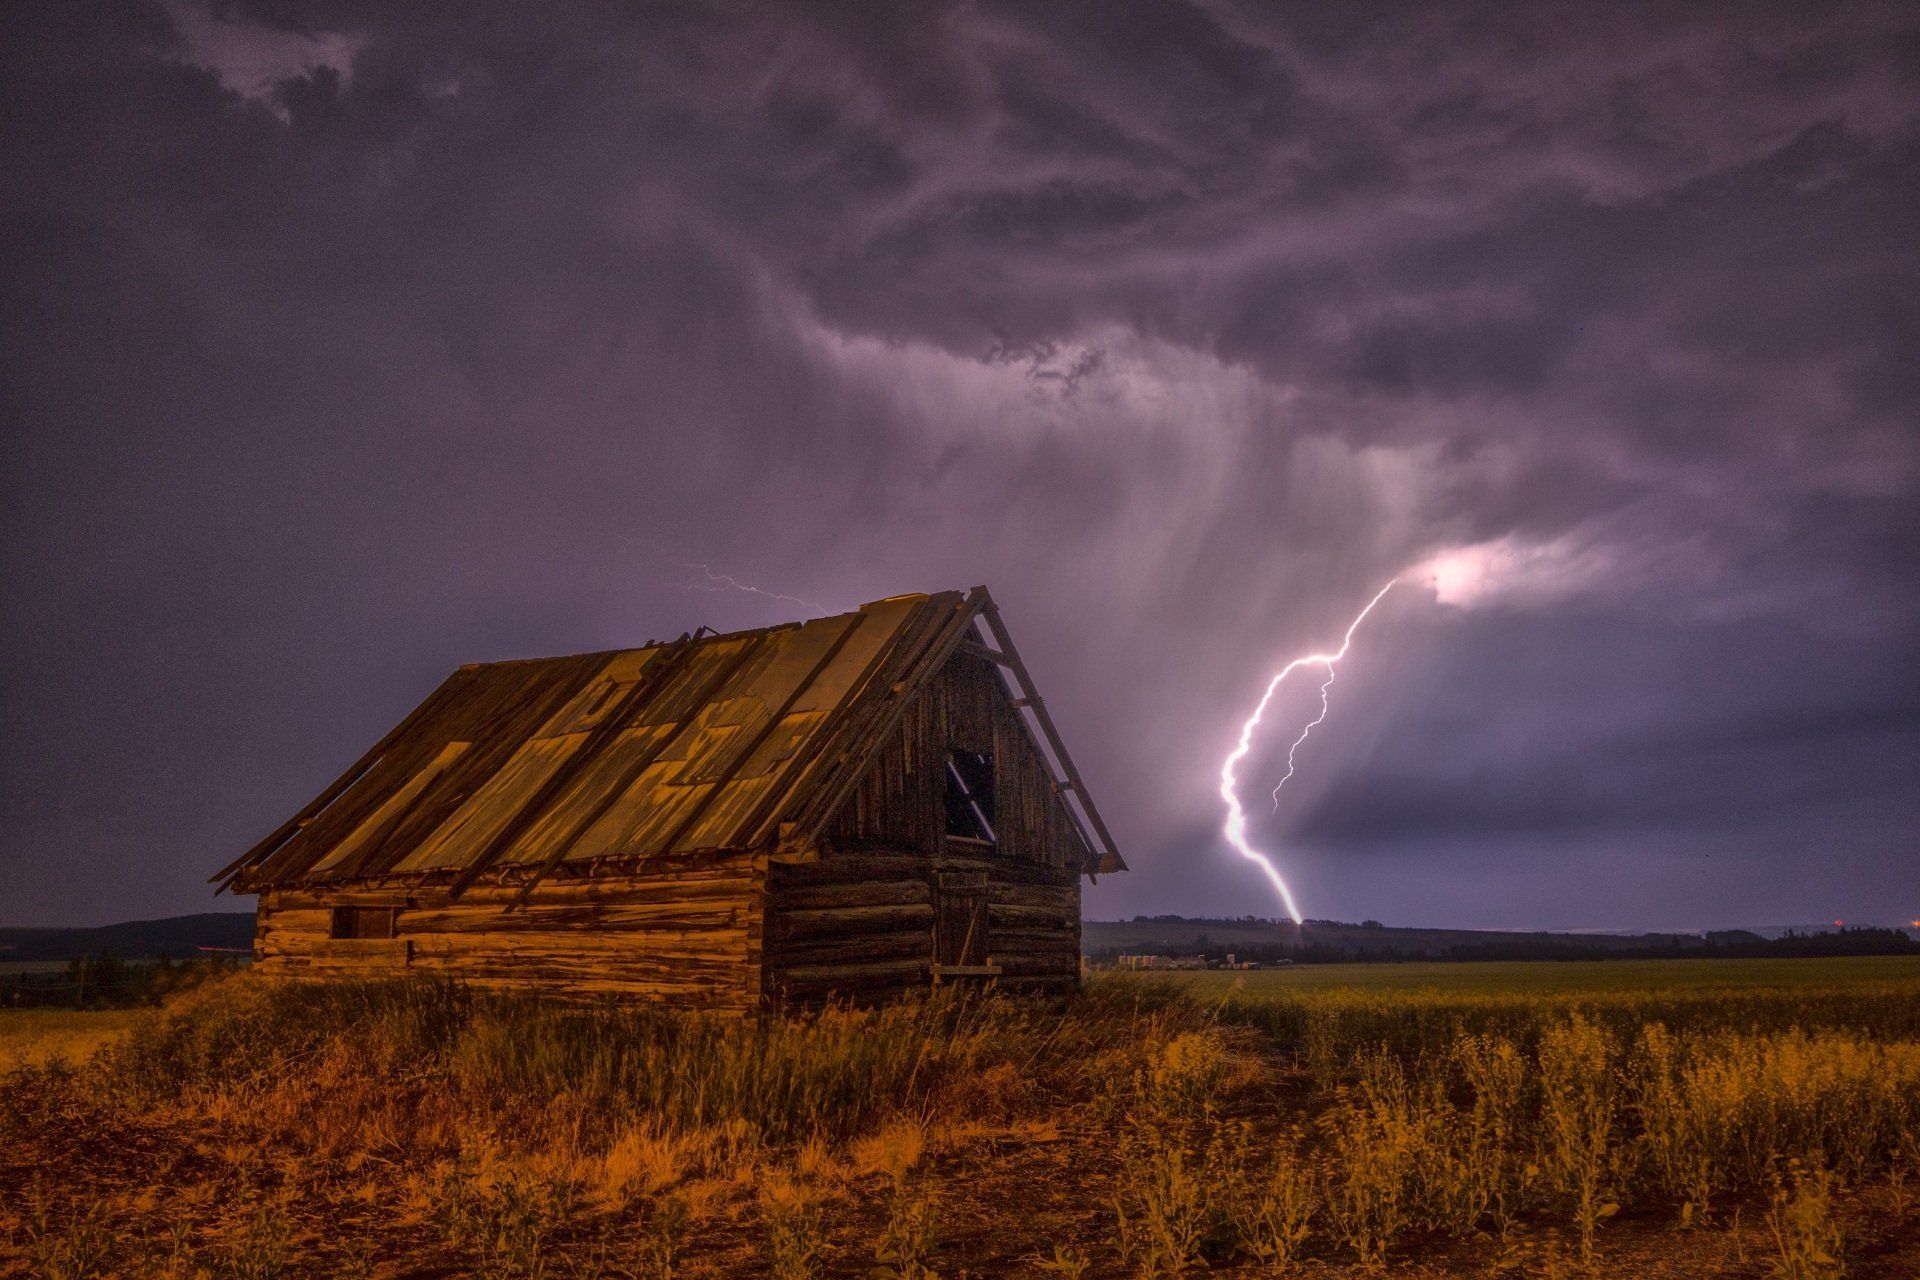
How to Repair a Damaged Fence After a Storm: The Ultimate Guide
If your fence was damaged in the recent storm, don't worry – we have you covered. This is the ultimate guide to repairing a damaged fence. We will walk you through each step of the fence repair process, from inspecting the damage to painting or staining the repaired fence. Follow these simple instructions and your fence will be good as new!
Inspect your fence for damage and determine the necessary repairs.
The first step is to inspect your fence for damage. Look for broken boards, loose nails, and any other damage. Once you have a good idea of the repairs needed, you can start on the next step.
Remove any debris or broken pieces from the fence
Once you have determined the necessary repairs, it's time to remove any debris. This includes broken pieces of the fence, loose nails, and anything else that is not supposed to be there. Be sure to dispose of all debris properly so it does not cause further damage.
Repair any broken boards, using a hammer and nails
Now it's time to repair the damaged boards. If you have a few small breaks, you can simply use a hammer and nails to fix them. However, if the damage is more extensive, you may need to replace the entire board.
Reinforce weak spots in the fence with extra support beams
In some cases, you may need to reinforce weak spots in the fence with extra support beams. This is usually only necessary if the damage is extensive or if the fence is particularly old.
Paint or stain the repaired fence to match the existing colour scheme
Once you have repaired all the damage, it's time to paint or stain the fence. This will help it match the existing colour scheme and make it look new again! It will also serve as protection against future damage.
Enjoy your repaired fence and rest easy knowing it will withstand future storms!
Now that you have repaired your fence, you can enjoy it for years to come. And if another storm comes, you can rest easy knowing that your fence will withstand the damage! Thanks for following our guide on how to repair a damaged fence after the storm. We hope it was helpful!
If you have any questions, please feel free to contact us. We would be happy to help!
Thank you for reading.
Have a great day!
Get a free quote
Contact Us
We will get back to you as soon as possible.
Please try again later.
Universal Fencing Leicester
Navigation
Navigation
Working hours
- Mon - Wed
- -
- Thu - Sat
- -
- Sunday
- -
